




How to Set Up a VPN on iPhone: Full Steps

Setting up a VPN on iPhone almost always stalls at the system's permission prompt, not the download or picking a node. This guide covers prep, steps and verification in order, enough to get connected in five minutes.


Setting up a VPN on iPhone comes down to four steps: download FastOrange from the official site or App Store, register an account, allow the system's VPN configuration prompt, then pick a node and connect. None of it involves typing a server address or choosing a protocol by hand.
The biggest difference from Android sits at the permission step. iOS adds one extra system-level confirmation when a VPN configuration is created. Skip or decline it, and the connection keeps failing afterward without ever showing a clear error.
This guide goes in order: prep, steps, verification, then common errors. That is enough to get it installed and confirmed working inside five minutes.
Why this step trips people up the most
iOS adds one more layer of confirmation to creating a VPN configuration than Android does. The system shows its own permission prompt, an operating-system window, not something the app can skip or fill in automatically. Decline it, and the app never shows a specific error; it just sits on connecting, which looks like a network problem when it is really a permissions one.
That is why plenty of people install it for the first time and think "I downloaded it, so why won't it connect." Nothing in the steps was wrong; just that one system confirmation got missed. It also does not carry over between devices: a new phone means going through it again. Once that is clear, everything else is straightforward.
Two things to confirm before starting
Which region your App Store account is set toCheck your App Store account's region before downloading. If the app cannot be found, it is almost always the account's region rather than a network issue, a separate thing from which node gets used later, so do not troubleshoot them together.
A way to actually receive a verification codeSign-up needs a verified email or phone number. Have an email ready that reliably receives codes, or skip this step entirely by logging in with a third-party account.
Whether another proxy-type app is still runningIf another accelerator or proxy tool was installed before, check whether it is still running in the background. Two apps both trying to hold a VPN configuration tend to conflict, which shows up as the permission prompt appearing repeatedly without ever succeeding. It looks like FastOrange is broken, when really something else is occupying the slot.
Setup steps
Step one: download and installSearch for and download FastOrange from the official site or the App Store. Once installed, open it and confirm the app itself launches properly before rushing to connect.
Step two: register and log inComplete registration with an email or a third-party account. After logging in, the connect button and node list appear. This step has nothing to do with the network itself; it is purely an account action.
Step three: allow the system's VPN configuration promptTapping connect triggers a one-time system prompt to add a VPN configuration. That is iOS's own confirmation window, not something the app draws itself. Allow it, and the icon switches to connected. Decline or dismiss it, and the connection stays stuck; restarting the app will not help, since the prompt needs to be triggered and accepted again.
Step four: pick a node and connectOnce authorization goes through, pick a node and tap connect. The first connection is a little slower than later ones because the tunnel is being established, which is not a sign the node itself is slow.
Step five: confirm it is actually connectedOpen an overseas web page and see whether it loads normally. Do not rely on the word "connected" in the app alone; that only means the tunnel exists, not that traffic is actually flowing through it. Connected but no internet covers why those are two different things.
Common errors
- The permission prompt never appears. Usually because it was declined once before and the system remembers that. Find the VPN-related entry in system settings, remove the old configuration record, and reconnect to trigger the prompt again.
- The connecting icon spins and never turns to connected. Usually either authorization failed or the node was unavailable at that moment. Switching nodes tends to work better than repeatedly tapping connect.
- "Unable to verify configuration" appears. This is a system-level error. Check that the OS version is not too old; Apple has been tightening VPN configuration support on older versions over time.
- It connects but pages load slowly. Rule out a large download eating up bandwidth first; background updates on iPhone compete for the same bandwidth too.
- No VPN mark shows in the status bar. iOS shows a small indicator at the top of the screen once connected, and that system-level signal is more reliable than the text inside the app. If the two disagree, trust the status bar first, then go back and check the app.
What the system prompt actually says, and dismissing isn't the same as declining
The system's permission prompt usually says the app will be allowed to create a VPN configuration to manage network traffic on the device. That wording is a fixed template on iOS: every VPN-type app triggers the exact same text, not a warning aimed specifically at FastOrange, so language about monitoring network traffic is not a reason to worry.
Swiping the prompt away and tapping "Don't Allow" are not the same thing. Swiping it away leaves the choice unmade, so tapping connect again brings up the same prompt. Tapping "Don't Allow" gets remembered by iOS, and simply reopening the app afterward will not bring the prompt back; the leftover configuration needs clearing first, the way described above.
Two things are worth checking before contacting support: the iOS version, since Apple has moved this prompt's wording and position around across versions, so pairing a screenshot with the version number helps support place things faster, and whether Settings > General > VPN & Device Management still lists an old entry for FastOrange.
Confirming the tunnel is really carrying traffic, not just showing connected
The app switching to connected only means the tunnel exists, not that every app on the phone is using it. To check for real, open any overseas page that shows where the connection appears to come from; if the location matches the node picked, the browser path is working.
Passing that test in a browser does not mean every app will. Maps and weather apps sometimes read the phone's own location service to decide on a region rather than looking at the network's exit point, so they can keep showing a local region even with a working tunnel. That is not a FastOrange problem, and reconnecting will not change what a location service reports.
The small indicator at the top of the screen is iOS's own signal, and as long as it is there, the tunnel is up, which is worth trusting more than the wording inside the app. When the two disagree, trust the status bar first, then check whether a specific app judges region its own way, rather than reconnecting or switching nodes right away.
A few habits worth keeping on iPhone
After a system update, redo the authorization flow the first time rather than just tapping connect. iOS updates occasionally clear old VPN configuration records; VPN stopped working after a system update covers this case specifically.
Using the same Apple ID across several Apple devices does not link their connection states. One being connected says nothing about the others, so each needs its own check. If more than one person in the household uses an iPhone, how to split a family VPN plan covers how to divide it up without the friction.
An Apple Watch paired to the same Apple ID does not connect along with the phone. For now, the VPN only takes effect on phones, tablets and computers.
In summary
Setting up a VPN on iPhone almost always trips on the system's one-time permission prompt, not the download or picking a node. Decline it once, forget about it, and the connection keeps failing afterward for no obvious reason.
FastOrange uses the same one-tap connection logic on iPhone as everywhere else. Every registered account gets free trial time daily, so follow the steps above, then open an overseas page to confirm it actually works.

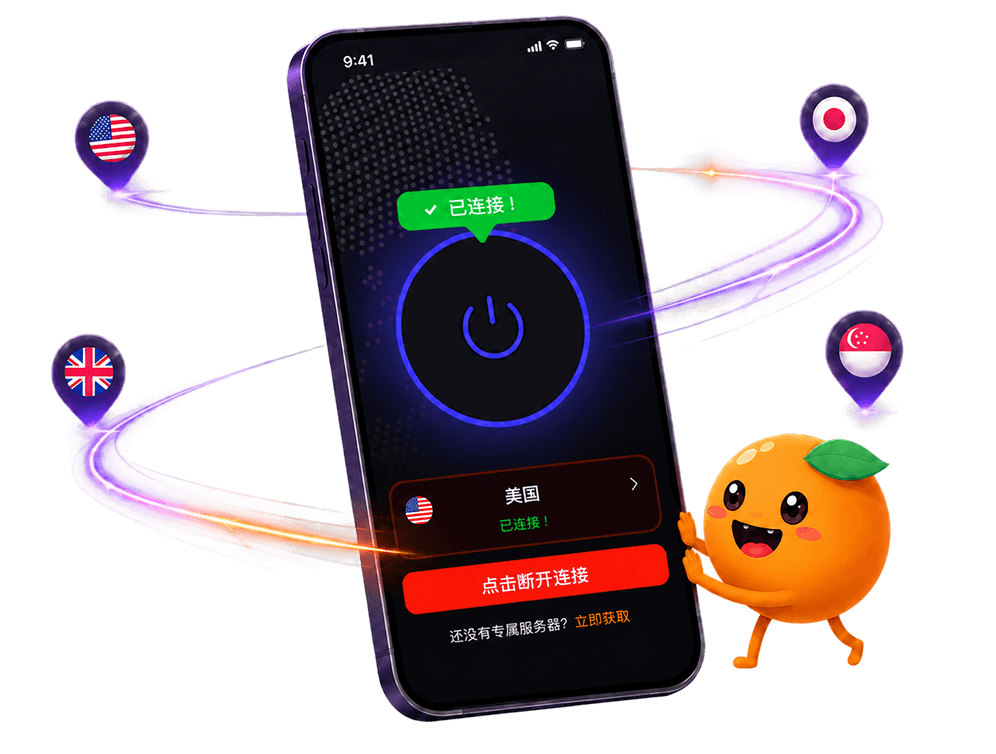
 High speed
 Millions of users
 24/7 Support

Get the Fast Orange App
One App. Every Platform. A More Stable Connection.
Available for Windows, macOS, Android, and iOS. Use One Account Across All Your Devices and Start with a Free Trial.
High speedMillions of users24/7 SupportDownload Fast Orange
 Choose your platform
Download Fast Orange
Switch between Windows, Android, iOS, and macOS